Your raspberry canes are flopping all over the place, tangling into each other like a pile of spaghetti, and you’re wondering why your harvest is so disappointing. Sound familiar? I’ve been there. The secret to a bumper raspberry crop isn’t just good soil or watering — it’s giving your canes the right support structure. A solid trellis keeps canes upright, improves airflow, maximizes sunlight exposure, and honestly just makes your garden look like you know what you’re doing. Let’s talk about 10 smart raspberry trellis ideas that actually work.
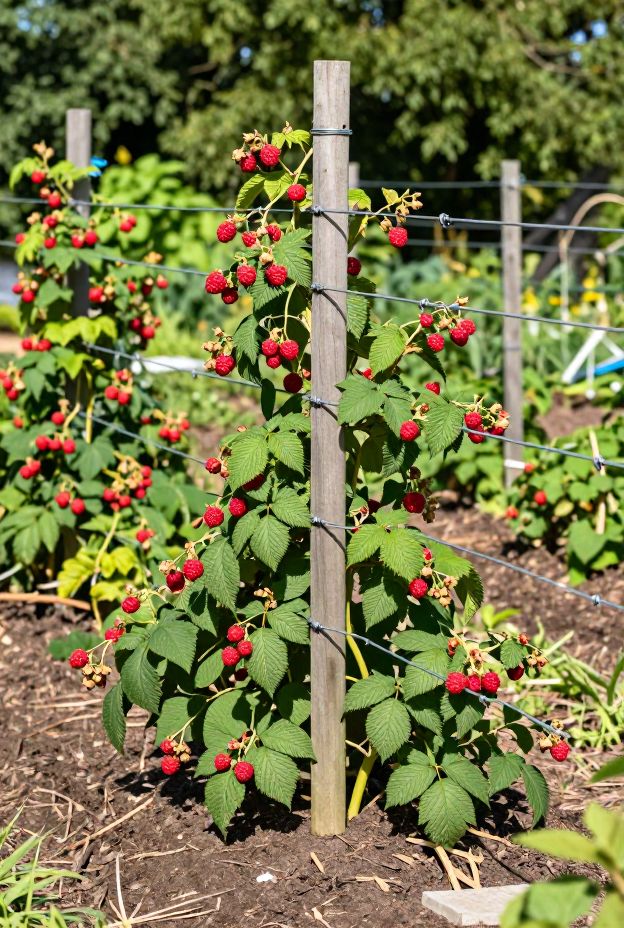
1. The Classic T-Post Trellis
This is the old reliable of raspberry trellises, and for good reason. Two sturdy wooden or metal posts with horizontal wires stretched between them give your canes a clean, organized lane to grow in. You train the canes to grow upright between the wires, and harvest becomes so much easier — no more wrestling with a thorny jungle.
I personally started with this setup and never looked back. It’s low-cost, durable, and you can build it in an afternoon with basic tools. If you’re a beginner, start here.
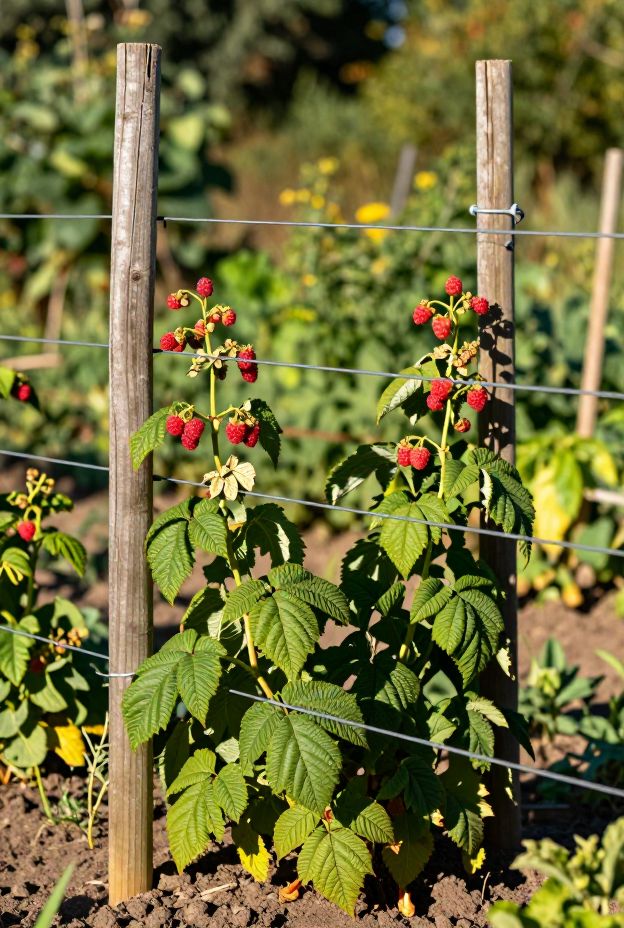
- Use treated wood or galvanized steel posts to resist rot and rust
- Space posts 8–10 feet apart for stable tension
- Run two or three horizontal wires at 2, 3.5, and 5 feet high
2. The V-Trellis (Hedgerow System)
Ever wondered why some raspberry rows look so perfectly open and airy? That’s the V-trellis at work. Two sets of wires angle outward in a V-shape, separating new primocanes from old floricanes. This means less disease pressure and way easier picking — your hands go in between the two walls of canes without getting shredded.
IMO, this is the most productive trellis style for serious growers. It maximizes light interception and airflow, which directly translates to bigger, more abundant berries.
- Set posts at a 15–30 degree outward angle on each side
- Keep the base of the V 18–24 inches wide for walkway access
- Train new canes to the center and fruiting canes to the outer wires
3. Single-Wire Fence Trellis
If you’re working with a small garden bed or just want something quick and minimal, a single-wire trellis is your best friend. One wire strung at about 3 feet high between two posts keeps canes from falling over while still letting them breathe. Is it fancy? Nope. Does it get the job done? Absolutely.
This works especially well for shorter, compact raspberry varieties. Less infrastructure, less cost, and still a huge improvement over letting canes flop around unsupported.

- Use 12–14 gauge galvanized wire for strength without excessive sag
- Tie canes loosely with soft garden twine or velcro ties
- Works best with fall-bearing (primocane) varieties that stay shorter
4. Wooden Stake and Tie Method
This one is gloriously simple — basically just individual wooden stakes hammered in every 2–3 feet along your row, with canes tied directly to each stake. No wires, no complicated setup. It’s the trellis equivalent of keeping things old-school, and sometimes that’s exactly what a small backyard patch needs.
The downside? It’s more labor-intensive when you have a long row. But for a small raised bed or container setup, it’s totally practical and very cheap.
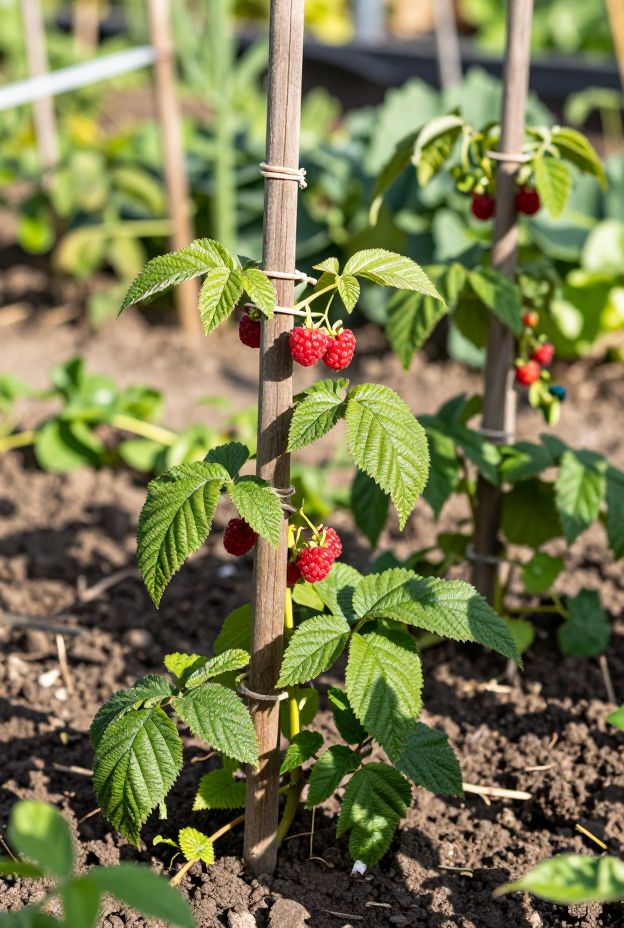
- Use stakes at least 5–6 feet tall so they stand firm after being driven 12 inches into the ground
- Tie canes at two points — mid-height and near the top
- Replace stakes every 2–3 years as wood degrades
5. The Permanent Post-and-Wire System
If you’re committed to growing raspberries for the long haul — and you should be, because once established they produce for 10+ years — invest in a permanent post-and-wire trellis. Concrete-set posts with tensioned, heavy-gauge wire are basically maintenance-free once installed.
Yes, the setup cost is higher upfront. But you will not be re-doing this every season. My permanent row has been standing for six years with zero adjustments. That’s the kind of set-it-and-forget-it energy we’re all looking for. 🙂
- Set corner posts in concrete 2–3 feet deep for maximum stability
- Use turnbuckles or wire tensioners to keep wires taut over time
- Space intermediate posts every 8 feet along the row
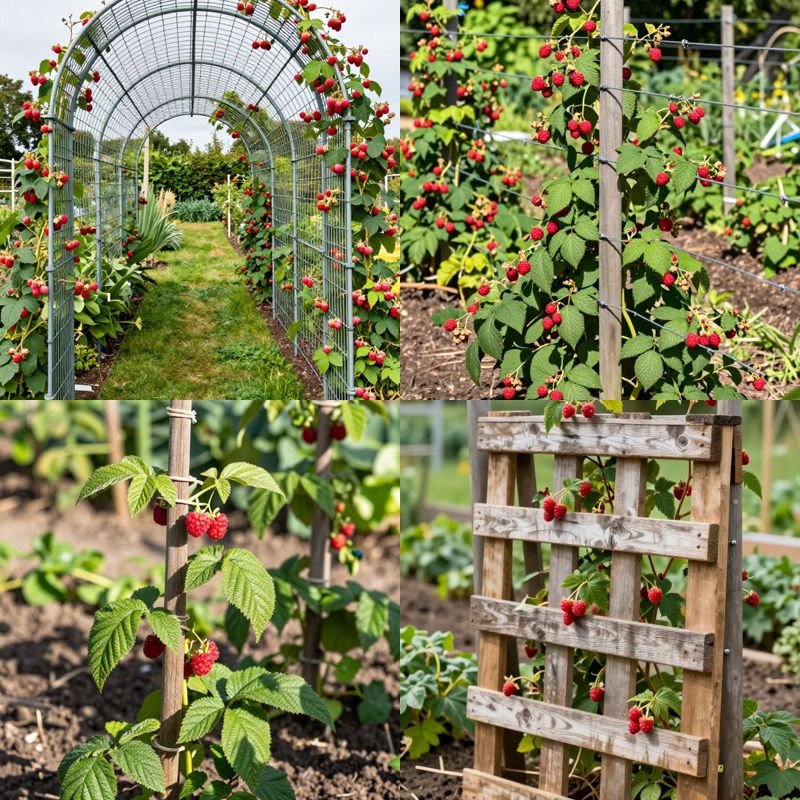
6. The Cattle Panel Arch Trellis
Here’s where things get a little creative. Cattle panels — those rigid wire grid panels from farm supply stores — bent into an arch create a gorgeous tunnel trellis. You walk through the middle and harvest from both sides. It looks incredible in a garden, and honestly your neighbors will be impressed (or confused, but let’s call it impressed).
This works brilliantly for ever-bearing varieties that produce on both new and old canes. The rigid structure needs zero additional support and lasts decades.
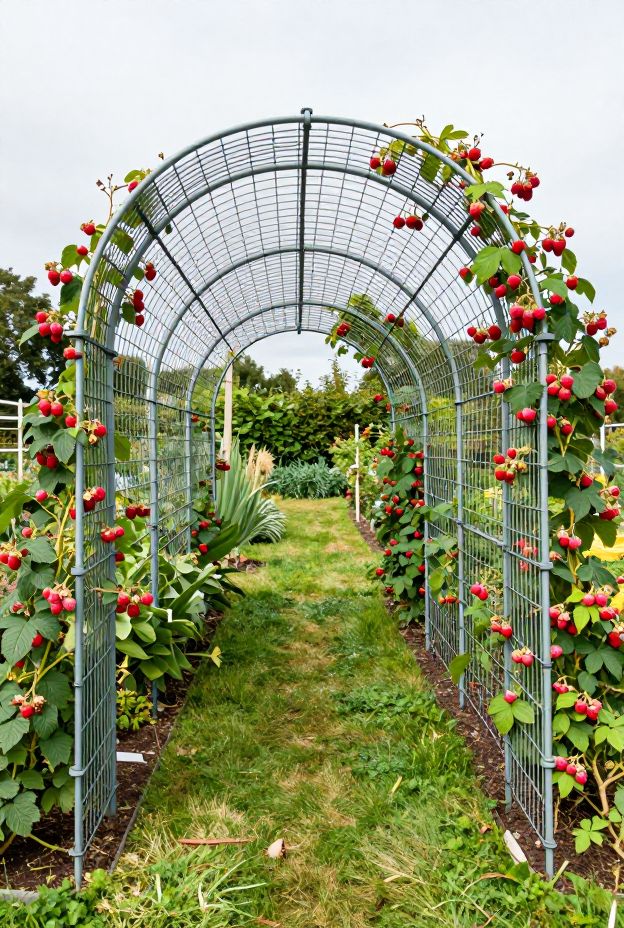
- Panels are typically 16 feet long by 50 inches wide — perfect arch dimensions
- Anchor ends firmly with T-posts or rebar driven at least 18 inches deep
- Allow 3–4 feet of walkway width inside the arch for comfortable harvesting
7. PVC Pipe Trellis for Raised Beds
Growing raspberries in a raised bed? PVC pipe makes surprisingly effective trellis posts. It’s lightweight, doesn’t rust, doesn’t rot, and you can disassemble the whole thing in minutes for bed renovation or overwintering.
FYI, this isn’t the most heavy-duty option for a full row of aggressive canes, but for a compact raised bed with 6–10 plants, it’s a smart, budget-friendly pick. Use thicker-walled PVC (schedule 40) to prevent bowing under wind pressure.
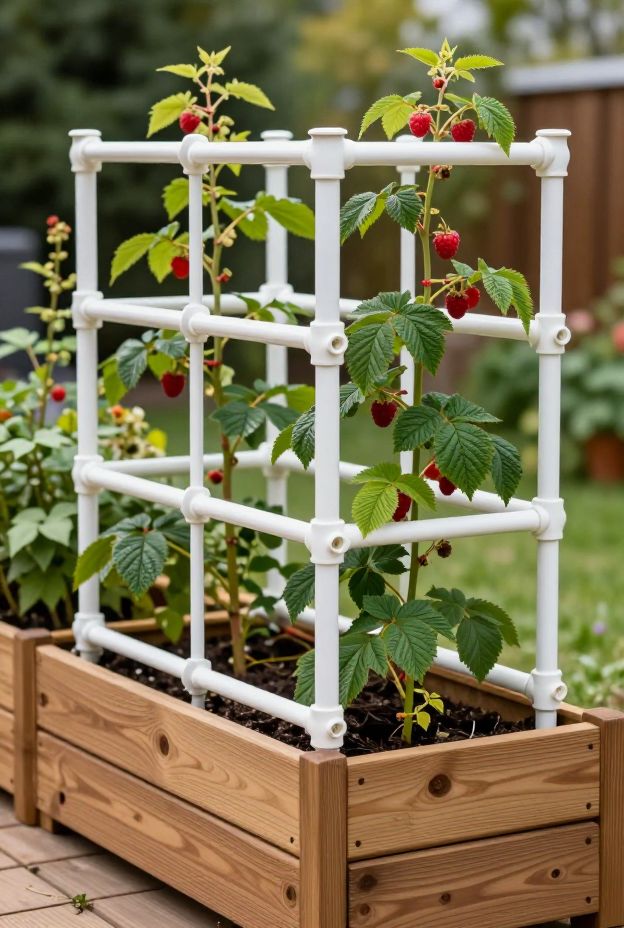
- Use 1-inch diameter schedule 40 PVC for adequate rigidity
- Connect horizontal runs with T-fittings and elbow joints — no glue needed for easy disassembly
- Add rebar inserts inside each post for extra stability in loose raised bed soil
8. The Fan Trellis for Wall-Growing Raspberries
Got a sunny fence or wall doing nothing? Use it. A fan-style trellis attached to a wall or solid fence lets you spread canes out like a peacock tail, maximizing sun exposure on every single cane. This technique is huge in European cottage gardens, and it genuinely works.
You’ll need wall anchors, wire, and a bit of patience training the canes outward. But the payoff is remarkable — wall-radiated heat extends your season and your berries ripen faster than freestanding plants.
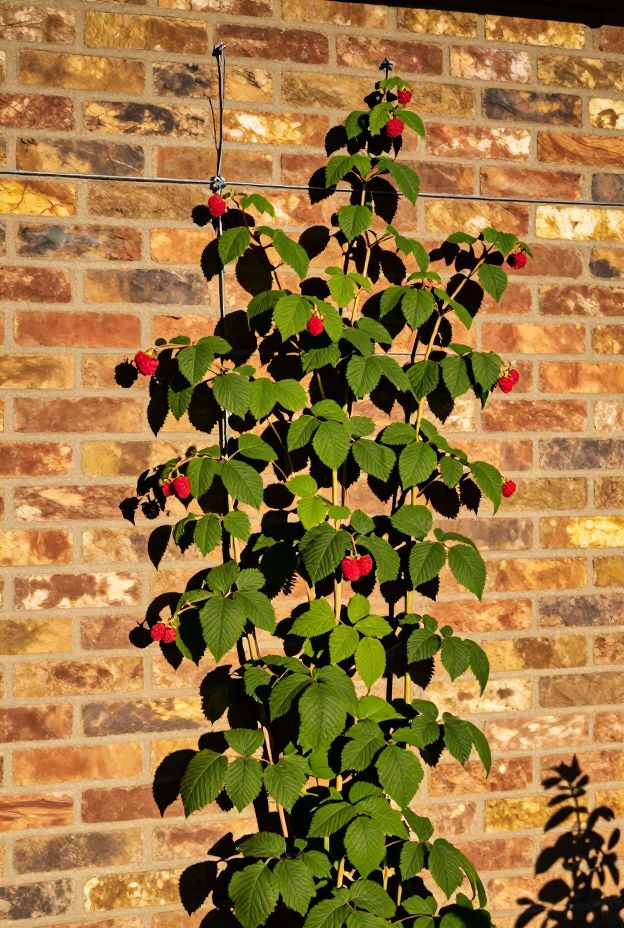
- Leave at least 6 inches between the wall and canes for airflow
- Tie canes to horizontal guide wires spaced every 12 inches up the wall
- Prune to 8–10 canes per plant to keep the fan from getting overcrowded
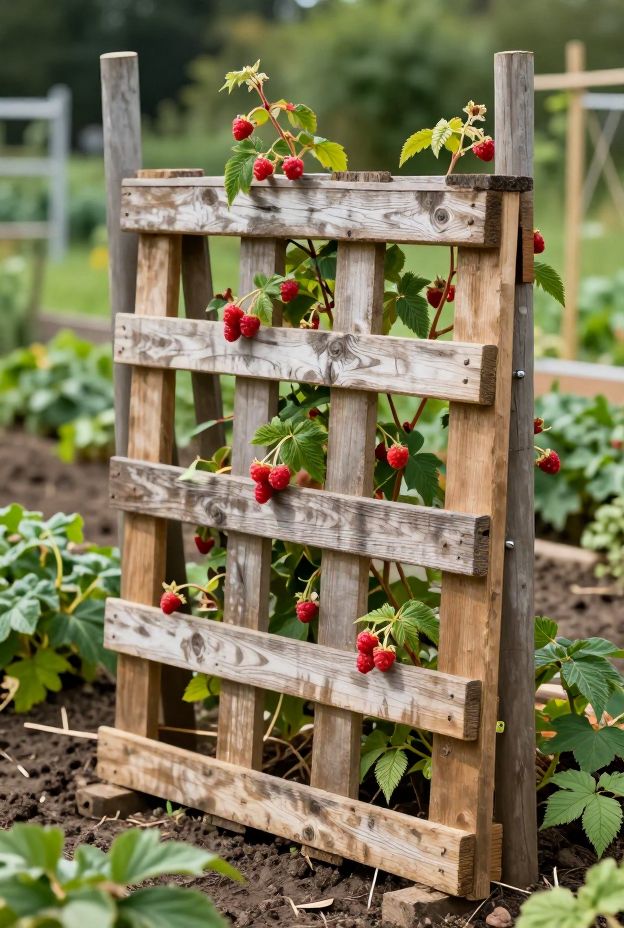
9. Repurposed Wooden Pallet Trellis
Want a trellis that costs almost nothing? A single wooden pallet stood upright and anchored between two posts makes a surprisingly functional trellis for a small patch of raspberries. Canes grow up through the pallet slats naturally, and the structure provides wind protection too.
This isn’t the prettiest option, I’ll admit. But if you’re gardening on a budget and have spare pallets lying around (who doesn’t, right?), this works and it works fast. Just make sure the pallet is heat-treated (marked HT), not chemically treated.
- Look for HT-stamped pallets only — avoid MB-stamped pallets (methyl bromide treated)
- Anchor pallets with T-posts on each side to prevent tipping in wind
- Sand rough edges to avoid snagging or cutting canes during growth
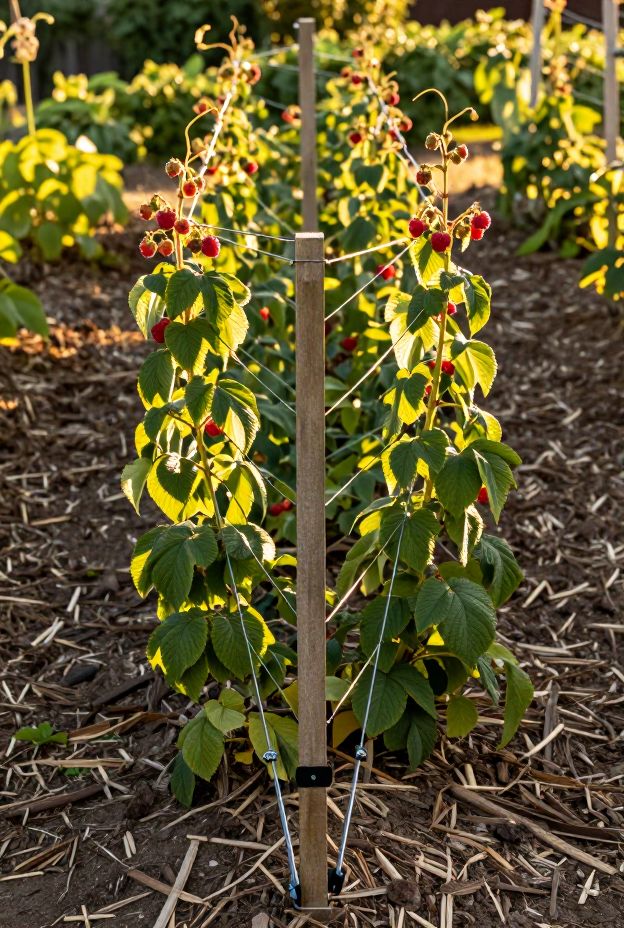
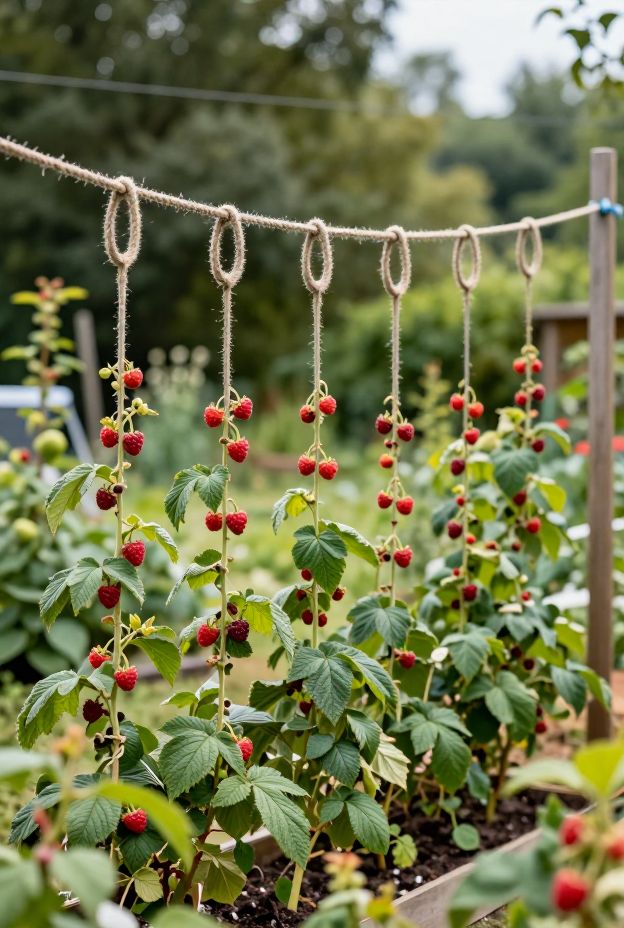
10. The Rope and Ring Floating Trellis
This last one is for the gardeners who like a bit of flexibility — literally. A floating trellis system uses rings or loops attached to a central horizontal rope, and each cane gets loosely looped into its own ring. As canes grow, you just move them up. No rigid structure, no fixed wires.
It sounds a little complicated, but once you set it up you’ll love how adaptable it is. :/ (Yeah, the initial setup takes a minute, but it pays off.) This is especially smart for gardeners who move or rotate beds regularly.
- Use natural jute or polypropylene rope rated for outdoor use
- Space rings every 6–8 inches so each cane has its own dedicated support
- Re-tension the main rope at the start of each growing season
Final Thoughts: Pick the Trellis That Fits Your Garden
Here’s the honest truth — any trellis is better than no trellis. Supported raspberries produce more, get less disease, and are so much easier to harvest. Whether you go full commitment with a permanent post-and-wire system or slap together a pallet trellis this weekend, you’re making a smart move.
Think about your space, your budget, and how long you plan to grow in that spot. A beginner with a small raised bed needs something totally different from a homesteader with 50-foot rows. Match the trellis to your situation and you’ll see the difference in your harvest this season.
Now stop reading and go build something. Your raspberry canes are waiting — and trust me, they’ve been patient long enough. Happy growing!